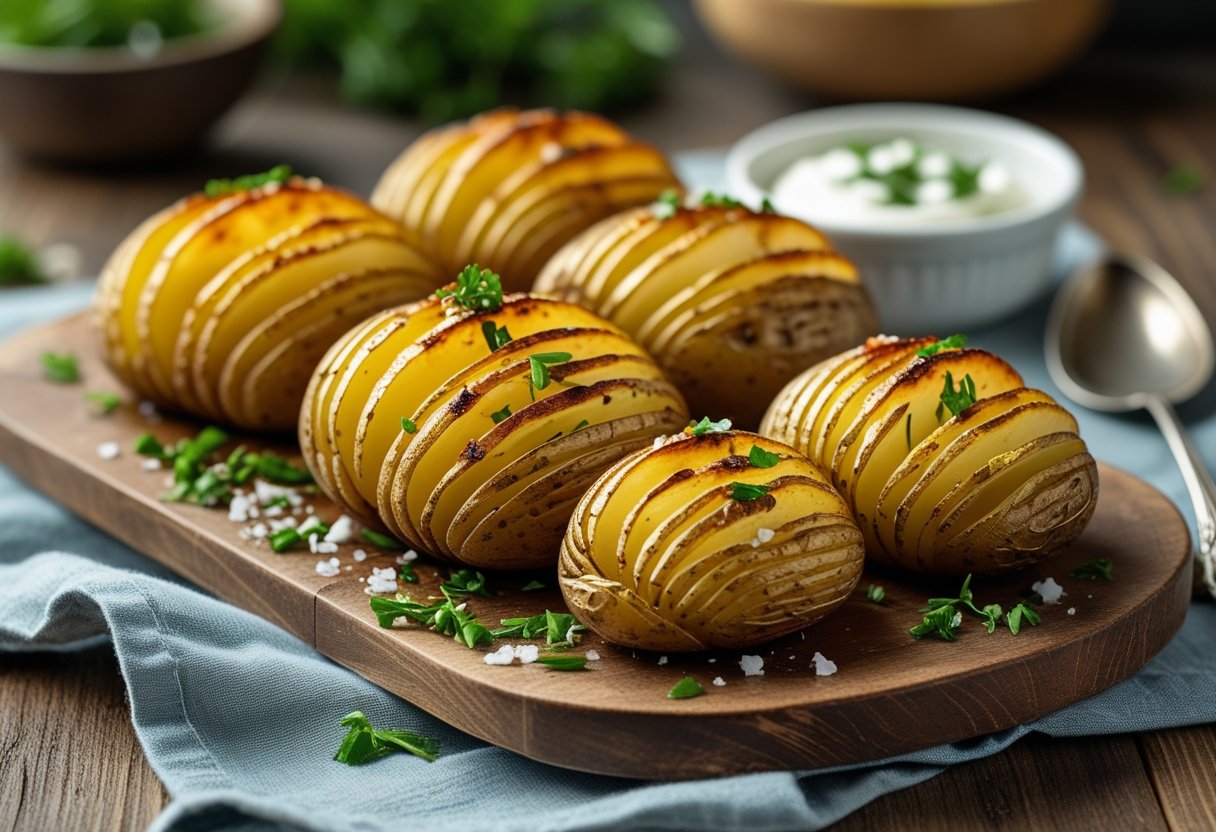
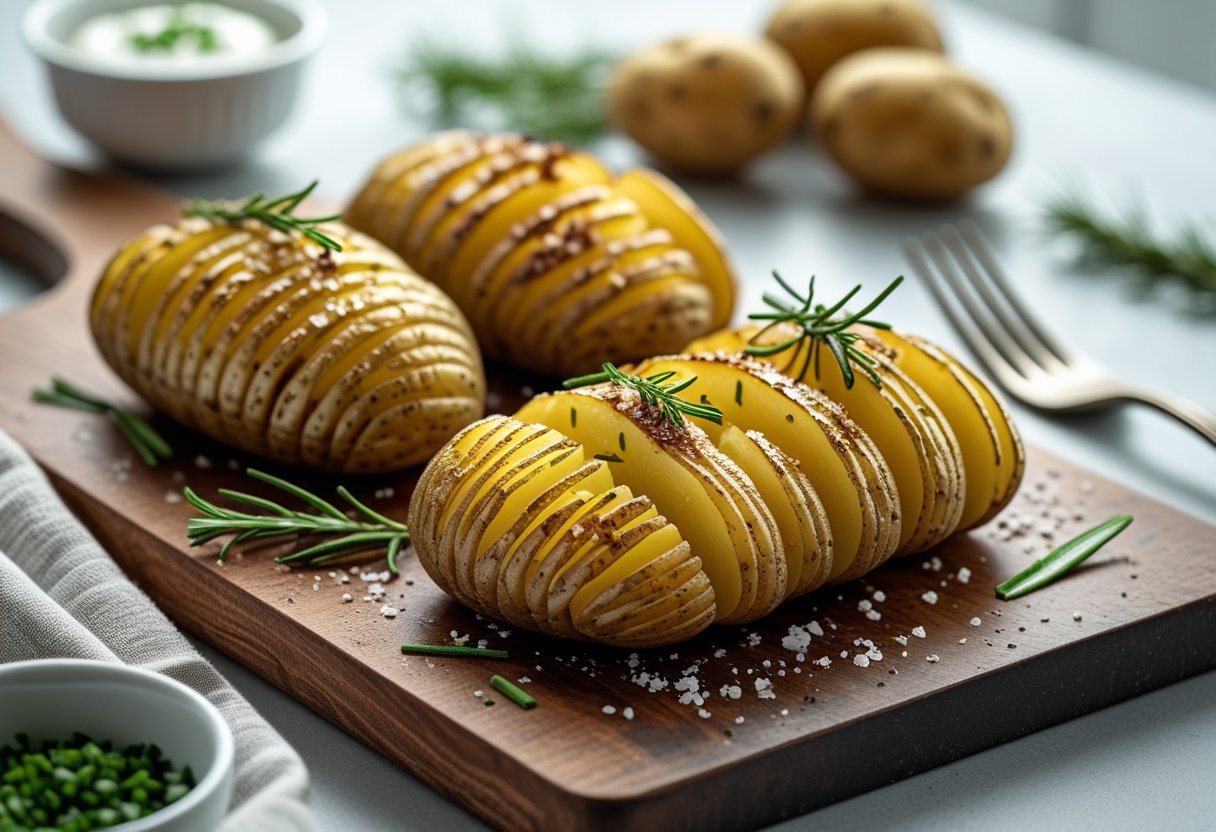
Hasselback potatoes are a simple yet elegant potato recipe that transforms ordinary potatoes into a crispy, tender side dish. By slicing the potatoes thinly without cutting all the way through, you get a cool fan-like effect that lets butter or oil seep deep inside, adding rich flavor with every bite.
This technique results in potatoes that are crispy on the edges and soft on the inside. They’re a perfect side dish for any meal—even if that meal is just “I felt like potatoes.”
We’ll show you how to prepare this classic potato recipe with easy steps to slice, season, and roast the potatoes to perfection. Using common ingredients like butter, olive oil, and herbs, you can turn potatoes into a dish that looks impressive but is simple to make.
Hasselback potatoes go well alongside meat dishes or roasted vegetables. They add a delicious, textured companion to your plate.
No special skills or fancy tools required—just a few tricks, like using chopsticks to guide your slicing. This ensures each potato fans out perfectly.
We’ll guide you through the process so you can enjoy a flavorful, crispy side dish that will elevate any dinner. For more details, check out Ree Drummond’s Hasselback potatoes recipe on Food Network.
Essential Steps and Ingredients for Perfect Hasselback Potatoes
To make the best Hasselback potatoes, attention to detail is key. Choosing the right potatoes, cutting them properly, selecting fats and seasonings, and nailing the baking process all matter.
Each step impacts how the potatoes cook, crisp, and flavor. We’ll focus on what works best to get soft centers and crispy edges without overcomplicating things.
Best Potato Varieties and Preparation
The best potatoes for Hasselback are medium-sized and oval-shaped, about 250g each. Russet potatoes are ideal because they have a starchy texture that crisps well and stays fluffy inside.
Yukon Golds are a good alternative if you want a creamier interior. Avoid waxy potatoes—they’re too smooth and slippery when sliced, which can make your Hasselbacks go from “fan” to “flop.”
Before cutting, scrub the potatoes clean. Cut a thin slice off the bottom to create a stable base so your potato doesn’t roll away mid-slice (no one wants a runaway spud).
How to Cut Hasselback Potatoes Easily
To cut thin slices without going all the way through, place the potato between two chopsticks, wooden spoons, or spatulas. These act as a guard to stop the knife from slicing through the base.
The thickness of these guides should be no more than 1cm to allow the potato to fan properly. Using a sharp chef’s knife, slice the potato into thin, even slices around 2mm thick.
Thin slices are essential—they fan out during baking, letting oil and seasonings drip between the slices and creating crispy edges. If the slices are too thick, they won’t fan or crisp well.
If you accidentally cut through, don’t panic—the potatoes will still taste good (and nobody’s grading your potato slicing skills).
Choosing Oils, Butters, and Seasonings
Extra-virgin olive oil is our top choice for brushing the potatoes. It helps create crisp, tasty edges without burning quickly.
Start with olive oil for most of the cooking, then add butter toward the end if you want richer flavor. Butter adds a nice brown color but can burn if used too early.
Kosher salt is preferred because it has larger crystals that spread flavor well and add crunch. Black pepper adds mild heat, but use sparingly.
Fresh garlic cloves, smashed but with skin on, and fresh rosemary sprigs add subtle aromatic notes when roasted with the potatoes. They infuse the oil and slices as they bake.
Baking Technique and Achieving Crisp Slices
Bake Hasselback potatoes in stages. First, rub them with a small amount of oil and salt, then bake at 200°C (400°F) for 30 minutes.
Next, pour over more olive oil and sprinkle additional salt. Add the smashed garlic and rosemary to the tray around the 30-minute mark to avoid burning.
Bake for another 40 minutes, basting every 10 minutes. Basting with a brush and applying a little pressure helps separate the slices, letting oil and salt work their magic inside.
Finally, crank the oven to 220°C (425°F) for 10-15 minutes to get golden, crispy edges. This step is crucial for that signature crunch—don’t skip it unless you like your potatoes shy and pale.
Serve hot for the best texture (and to make your kitchen smell like a fancy steakhouse).
Delicious Serving Ideas and Flavor Variations

We want our Hasselback potatoes to be more than just a simple side. Adding the right toppings, trying new flavors, and presenting them well can make a big difference.
Serving these potatoes with complementary dishes or storing them properly also helps keep their taste and texture just right. You want to keep those crispy edges, after all.
Classic and Modern Topping Suggestions
Classic toppings like sour cream, shredded cheddar cheese, and crispy bacon bits add savory layers to your Hasselback potatoes. Chopped fresh chives bring a bright, mild onion flavor, while a sprinkle of Parmesan or a drizzle of cheese sauce makes them richer.
For a modern twist, try a dollop of Greek yogurt instead of sour cream for tanginess or a light drizzle of chili sauce for some heat. Fresh herbs like thyme or rosemary tucked into the slices give a subtle aroma.
These toppings keep the potatoes flavorful without overpowering their crispy edges and tender centers. Remember: toppings are optional, but showing off your potato artistry is always encouraged.
Popular Variations and Complementary Potato Dishes
Hasselback potatoes pair well with dishes like roasted meats, grilled fish, or vegetarian mains. Their crispy texture also works nicely alongside creamy dishes like potatoes au gratin or crispy smashed potatoes, offering variety in one meal.
For a fuller meal, add toppings inspired by loaded baked potatoes, such as chili and melted cheese, for a hearty option. You can also experiment with Yukon Golds or Russets depending on whether you want a creamier or crispier result.
Now go forth and Hasselback like a pro!
Tips for Presentation and Storage
Presentation matters. Fanning out the thin slices and garnishing with fresh parsley or chives makes the potatoes look extra fancy.
Serve them hot and fresh from the oven to keep those edges crispy and the insides soft and dreamy.
If you have leftovers, let the potatoes cool completely before popping them in the fridge. When it’s time to reheat, use the oven instead of the microwave to bring back that crispiness.
Cover them loosely with foil to keep them from drying out but still tasting great for your next meal.