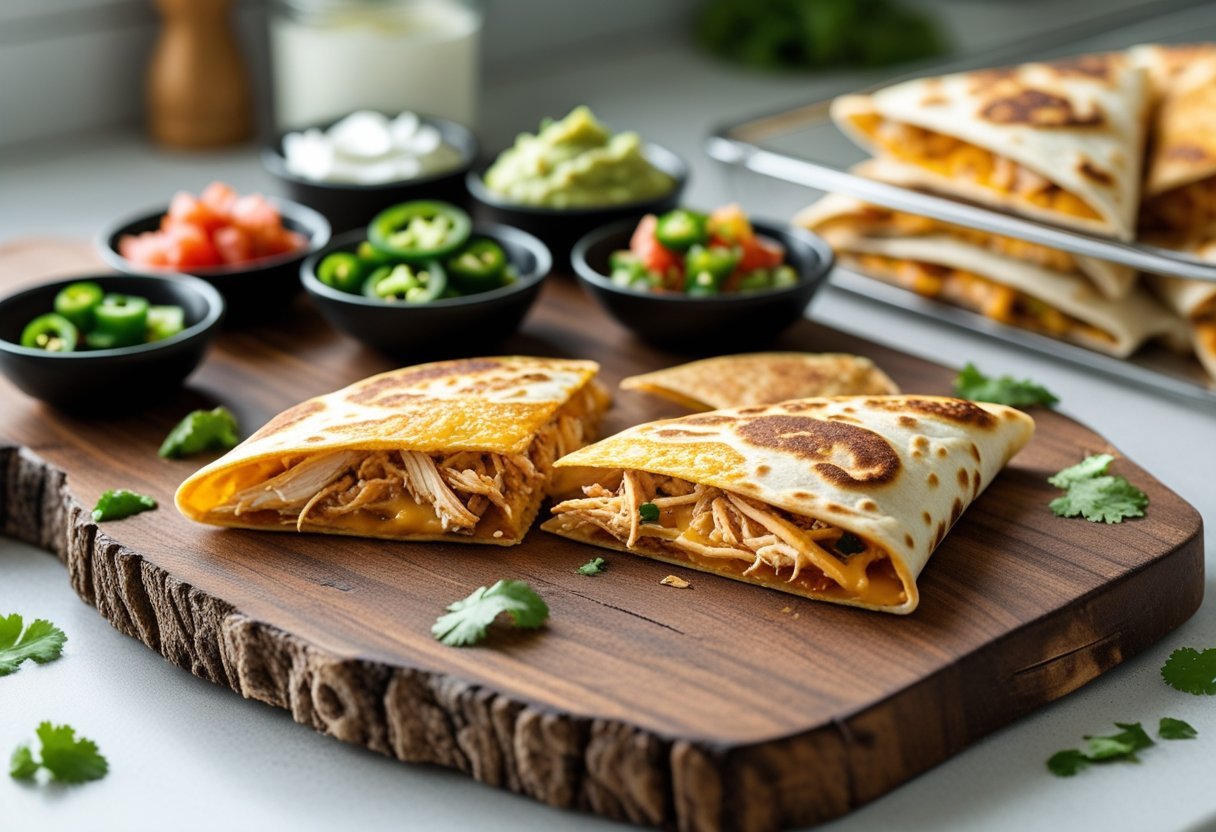
If you’re looking for a quick, tasty meal that combines crunch, cheese, and chicken, the Cheesy Chicken Crunchadilla is a perfect choice. It layers shredded chicken, melted cheese, fresh tomatoes, and scallions between tostadas wrapped in a flour tortilla, then cooks to a crispy, golden finish.

This recipe uses simple ingredients and cooks fast, making it great for busy nights or a satisfying snack. The combination of textures and flavors gives us a delicious mix that’s both filling and easy to make using a Ninja Foodi or air fryer.
We can customize this dish by adding our favorite spices or veggies, and storing leftovers is simple for next-day enjoyment. This makes the Cheesy Chicken Crunchadilla a versatile and convenient meal option to keep in our recipe collection.
Key Takeaways
- The recipe combines layers of chicken, cheese, tomatoes, and scallions for great flavor.
- It cooks quickly to a crispy finish using an air fryer or Ninja Foodi.
- The dish is easy to customize and store for later meals.
Cheesy Chicken Crunchadilla Recipe Steps
Making a delicious cheesy chicken crunchadilla involves gathering the right ingredients, preparing the filling carefully, assembling the layers correctly, and choosing the best cooking method. Each step builds on the last to create a crisp, melty, and flavorful dish.
Essential Ingredients for Crunchadillas
We use flour tortillas as the base because they fold easily and crisp nicely. For crunch, corn tostadas are layered inside. The key filling starts with shredded chicken, which adds protein and texture.
Cheese is important for melt and flavor. We choose cubed cheese and a shredded Mexican cheese blend to get a mix of gooey and stringy textures.
Fresh ingredients like diced tomatoes and thinly sliced scallions add brightness to balance the richness.
For cooking, we lightly spray with cooking spray or use a bit of olive oil to help crisp the tortilla exterior without sogginess.
How to Prepare the Chicken and Cheese Filling
Our filling starts with cooked, shredded chicken. We can use rotisserie chicken for ease or cook breasts and shred them by hand.
We combine the chicken with half of the cubed cheese, then layer on diced tomatoes and scallions. This mix gives a good balance of moisture, fat, and fresh flavor.
The cheese must be evenly spread to melt well and bind the ingredients. Using cubes instead of shredded cheese inside helps keep the filling stable during folding.
Keeping some cheese shredded and topping the crunchadilla with it adds a creamy, melty finish after cooking.
Assembling and Folding the Crunchadilla
We start by laying a flour tortilla flat. Half the chicken and cheese mixture goes in the center, topped with tomatoes and scallions.
Next, place one corn tostada on top to add crunch. Repeat with the rest of the filling and add the second tostada.
We then fold the flour tortilla over the stacked layers in about four folds. The result is a tight wrap that holds the filling well.
To close the opening, we use a torn piece of tortilla or crushed tostada, pressing it over the center to seal.
Cooking Methods: Oven, Air Fryer, and Stovetop
For best crunch, we recommend using an air fryer with the Cook & Crisp Basket. Set it to 360°F for 8 minutes on air crisp mode. This crisps evenly without added oil.
Alternatively, you can cook it in a preheated oven at 375°F on a baking sheet with light oil spray for 10-12 minutes, flipping halfway.
On the stovetop, cook the crunchadilla over medium heat in a greased pan for 3-4 minutes per side until golden brown and cheese is melted.
Each method gives a crispy cheesy chicken quesadilla with perfectly melted cheese and a crunchy outside.
Serving, Customization, and Storage Tips
We want our cheesy chicken crunchadillas to be as tasty and convenient as possible. Picking the right toppings, trying new add-ins, and knowing how to store leftovers can make all the difference in enjoying this dish again and again.
Best Toppings and Dips for Crunchadillas
To enhance the crunchy texture and cheesy filling, we suggest topping our crunchadillas with fresh guacamole or a dollop of sour cream. These add cool, creamy contrast.
Salsa or pico de gallo adds a fresh, zesty bite. Black beans can be served on the side for extra protein and fiber, rounding out the meal without overpowering flavors.
For dipping, try simple options like salsa verde or a mild queso dip. If we want something sweeter, a fruit-infused salsa or pineapple fizz works well.
Crunchadilla Variations and Add-Ins
We can customize our crunchadilla by adding ingredients that boost flavor and texture.
Try adding sautéed cauliflower parmesan for a subtle veggie twist. Mixing in honey garlic glazed salmon or shredded butter chicken can offer a different protein profile for a unique spin.
For an easier, weeknight meal, we can use cooked chicken and black beans to create quick chicken quesadillas in a pressure cooker.
Adding crunchy fried vinegar cornmeal balls on the side can make the meal more hearty. Spices like smoked paprika or jalapeños can give the dish a gentle heat and depth.
How to Store and Reheat Leftovers
We should store leftover crunchadillas in an airtight container. They keep well in the fridge for up to 3 days without losing texture.
For reheating, the best method is the oven or toaster oven at 300°F to keep them crispy. It usually takes 5-7 minutes. Avoid microwaving if we want to prevent sogginess.
If using a Ninja pressure cooker to reheat or steam veggies like root vegetables or salmon alongside, we can prep a quick balanced meal with minimal effort.
Freezing is possible too. Wrap each crunchadilla in foil before placing them in a freezer bag to avoid freezer burn. To reheat, thaw overnight then warm in the oven for best results.