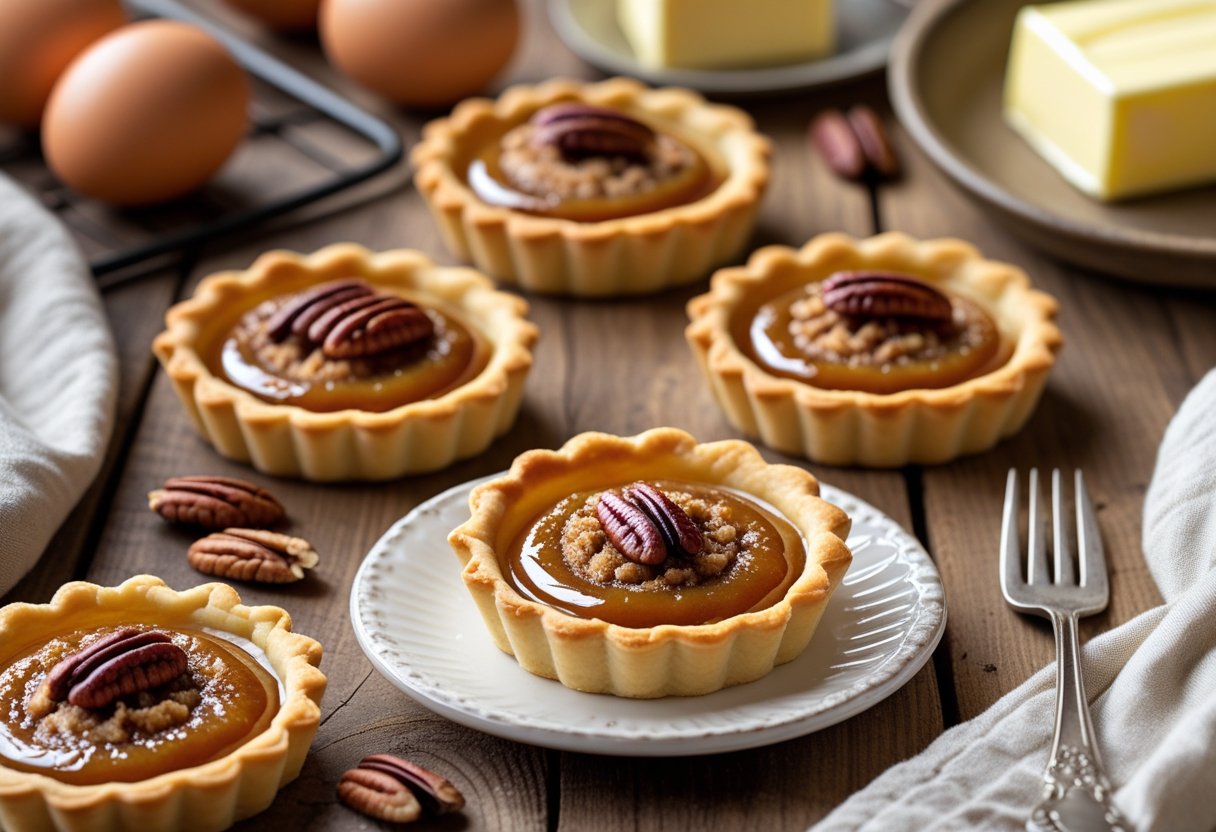
Butter tarts are a classic Canadian treat that offer a perfect mix of flaky pastry and a rich, gooey filling. This recipe shows us how to make buttery, caramel-like tarts that are easy to bake and delicious to eat every time.
Whether you like them with nuts, raisins, or plain, these tarts always bring a special touch to any dessert table.
We’ll guide you through each step, from making the perfect flaky crust to creating that sweet, sticky center. Once you have the basics down, you can customize your butter tarts just the way you like them.
They’re simple yet impressive. Perfect for sharing with family and friends.
After baking, we’ll also share the best ways to store your tarts so they stay fresh and tasty. This way, you can enjoy them for several days or freeze them for later.
Let’s get started on this delicious journey together!
Key Takeaways
- We can make flaky pastry and gooey filling with simple ingredients.
- Following easy steps helps achieve consistent, tasty butter tarts.
- Proper storage keeps the tarts fresh and ready to enjoy anytime.
Easy Butter Tarts Recipe Step-By-Step
Making butter tarts means combining a crispy, flaky crust with a rich, gooey filling. We’ll gather the right ingredients, prepare the best pastry shells, and mix a sweet filling that’s classic in every Canadian butter tart.
Baking them just right is key to getting a golden crust and soft center.
Essential Ingredients and Tools
For a great batch, we need basic items familiar to most kitchens. The crust calls for all-purpose flour, unsalted butter, and ice-cold water to keep the dough flaky and tender.
For the filling, we use brown sugar for rich sweetness, corn syrup or maple syrup to keep it smooth, eggs that help the filling set, and a splash of vanilla extract to boost flavor.
We also need some basic tools: a mixing bowl, a whisk, and a rolling pin if we’re making pastry from scratch. A baking sheet is handy, too.
Don’t forget tart pans or pre-made pastry shells for a faster way. Oven mitts and a cooling rack will help once they come out of the oven.
Making Flaky Pastry Shells
If we want to make pastry from scratch, the secret is keeping the butter cold until baking. We start by cutting unsalted butter into cold all-purpose flour, then quickly mix in just enough ice water to bring the dough together.
We handle it gently to avoid warming the butter. Once the dough is wrapped and chilled, we roll it out evenly and cut it into circles for our tart pans.
Keeping everything cold helps create layers of flaky pastry. If time is tight, using frozen or refrigerated pastry shells works well, too.
Just fill them straight from the freezer so they bake crisp with a nice golden edge.
Crafting the Gooey Tart Filling
The heart of every butter tart is its filling. We whisk together brown sugar, melted butter, and either corn syrup or maple syrup for sweetness and that perfect sticky texture.
Adding eggs helps the filling set but keeps it soft and gooey inside. A little vanilla extract goes a long way in lifting the flavors.
Some of us like to add raisins or nuts, but keeping it plain lets the sweet filling shine. The correct balance means the filling bubbles and puffs in the oven, with a slight jiggle when it’s done.
Assembly and Baking Tips
Filling the shells about two-thirds full avoids messy spills as the filling rises. We place the tarts on a baking sheet to catch any drips and bake in a fully preheated oven at 375°F (190°C).
Baking takes around 15 to 20 minutes until the crust is golden and the filling is bubbly. We watch for a gentle jiggle in the center — that’s when the filling is perfectly gooey.
Letting the tarts cool briefly on the pan helps the filling set. Serve them warm or at room temperature for a truly delicious dessert.
For more details, check a reliable Easy Butter Tarts Recipe.
How to Store and Enjoy Butter Tarts
Keeping butter tarts fresh and delicious means paying attention to how we store them and finding fun ways to serve them. Proper storage helps maintain their flaky crust and gooey filling.
We can also try tasty twists to enjoy this classic dessert in new ways.
Storing and Freezing Butter Tarts
First, we let the butter tarts cool completely before storing. This stops moisture from making the crust soggy.
Then, we place them in an airtight container to keep the filling fresh and the crust crisp. In the fridge, butter tarts last up to one week.
If we want to keep butter tarts longer, freezing is a great option. To freeze, we flash freeze the cooled tarts on a baking sheet for 1-2 hours.
Once frozen, we move them into a freezer-safe bag or container. This prevents the tarts from sticking together.
Label the container with the date. Butter tarts stay good in the freezer for about three months.
When ready to eat, thaw them slowly in the fridge or at room temperature. To warm them up, we use an oven for a few minutes to keep the crust nice and flaky.
Serving Ideas and Tasty Variations
Butter tarts are delicious on their own, but we love to mix things up.
One simple idea is to warm the tarts just before serving. A quick 5-minute bake at 350°F makes the filling gooey and the crust crisp.
For variations, try adding nuts or raisins for extra texture and flavor. Maple syrup can add a sweet twist too.
Some of us like a dash of cinnamon or a drizzle of chocolate on top. Go wild—there are no butter tart police.
Serving butter tarts with a scoop of vanilla ice cream or a dollop of whipped cream makes dessert feel extra special. Plus, it adds a cool contrast to that warm, buttery filling.
For detailed tips on freezing and storing, check out this guide on how to freeze butter tarts.