Sushi bake is a simple, tasty way to enjoy your favorite sushi flavors without the hassle of rolling or fancy techniques. It combines layers of seasoned sushi rice, creamy seafood like crab or shrimp tempura, and flavorful sauces all baked together in one dish.
It’s an easy meal to prepare at home that still delivers the taste and texture we love from traditional sushi. No sushi mat acrobatics required—just a casserole dish and a dream.
We can customize sushi bake with different proteins, toppings, and sauces to suit our tastes. It’s perfect for families, small gatherings, or when we want a comforting, shareable dish.
Plus, it can be made in about 30 to 35 minutes, so it fits well into busy schedules without compromising flavor or quality. This is the weeknight dinner hero you didn’t know you needed.
Using ingredients like furikake seasoning, Japanese mayo, and unagi sauce adds authentic Japanese taste to a casserole-style meal. For detailed steps and tips, check out this easy sushi bake recipe.
Essential Ingredients and Tools
To make a great sushi bake, we need to gather specific ingredients and tools that shape its taste and texture. Each item plays a clear role, from the sticky sushi rice to the creamy crab filling and the tools that make preparation easier and baking even.
Key Sushi Rice Components
Sushi rice is the foundation of any sushi bake. We use short-grain sushi rice because of its sticky texture, which holds everything together.
After cooking the rice perfectly, we season it with a mix of rice vinegar, granulated sugar, and salt. This blend gives the rice a tangy and slightly sweet flavor essential to the dish.
We rinse the sushi rice well before cooking to remove excess starch. Once cooked, we gently fold the vinegar mixture into the warm rice to keep the grains separate yet sticky.
Using a wooden or plastic paddle helps prevent mashing the rice. Properly seasoned rice sets the stage for the flavors layered on top.
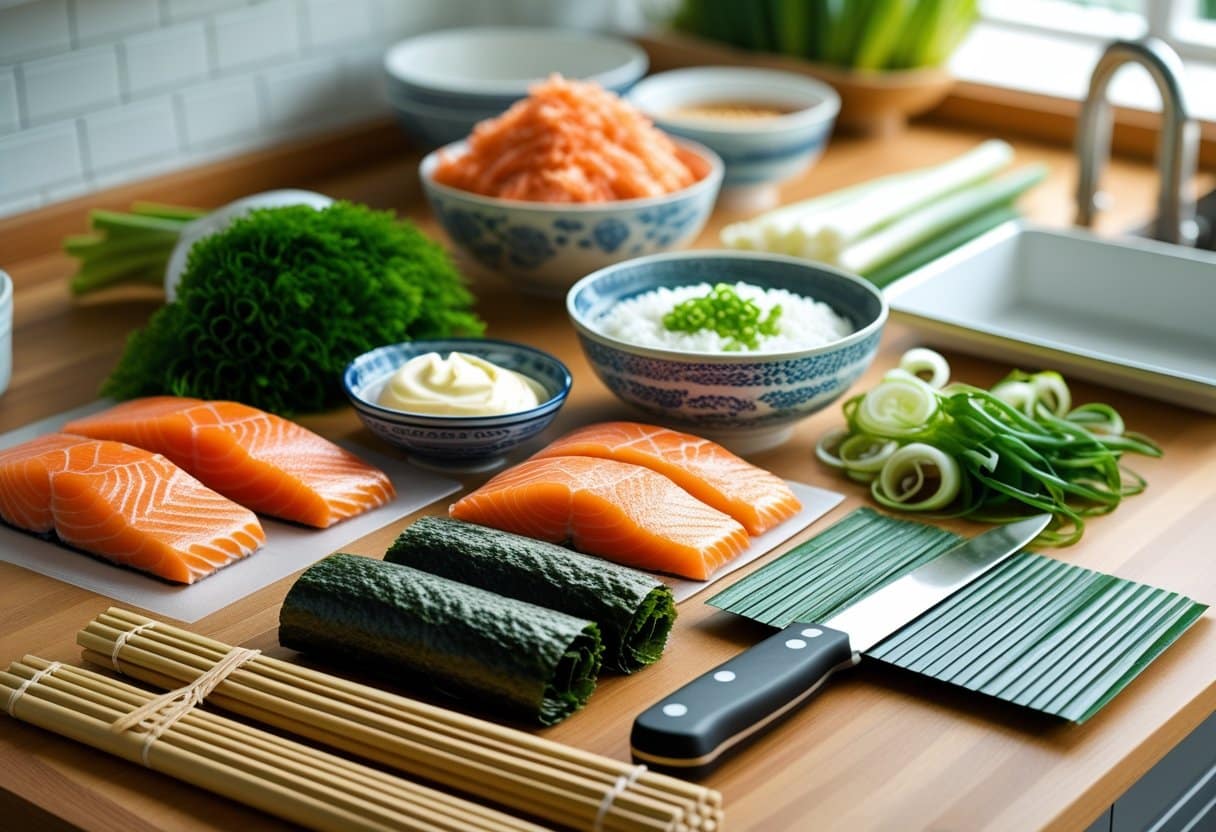
Seafood and Proteins for Sushi Bake
Our sushi bake often features a creamy seafood mixture with tasty proteins. The most common choice is imitation crab meat, which is affordable and flavorful.
Fresh options like salmon or shrimp upgrade the dish, giving it richer seafood notes. We mix these proteins with cream cheese and Kewpie mayonnaise to create a smooth and rich crab or seafood filling.
Adding sriracha or soy sauce brings heat and umami depth. For vegetarian versions, tofu or avocado works well alongside rice for texture and taste.
Condiments, Sauces, and Seasonings
To enhance our sushi bake, we add bold condiments and toppings. Furikake seasoning is essential; it adds savory, seaweed, and sesame flavors on top.
We often use eel sauce drizzle for sweetness and richness. Thin slices of avocado and cucumber bring creaminess and crunch, balancing the dish.
Additional flavor comes from toasted sesame seeds sprinkled over the bake before serving. We use wasabi carefully, either mixed into the filling or served on the side, for those who want extra spice.
A touch of sesame oil deepens the flavor profile subtly. Just don’t go overboard, unless you want your sushi bake to taste like a sesame oil spa.
Must-Have Bakeware and Serving Items
To cook and serve our sushi bake properly, the right tools are essential. A 9×9 inch or 9×13 inch baking dish works best for even cooking and easy layering.
Glass or ceramic dishes help heat distribute evenly without burning. We rely on a rice cooker or a heavy-bottom pot to prepare perfect sushi rice consistently.
Mixing bowls of various sizes help combine ingredients smoothly. Measuring cups and spoons are key to precise seasoning.
Lastly, nori sheets or seaweed snacks are served alongside, letting everyone make their own hand rolls from the baked sushi casserole. It’s a DIY sushi party without the pressure.
How to Make Sushi Bake Step-by-Step
Making a sushi bake involves careful steps to build layers of flavor and texture. We start with perfectly seasoned sushi rice, then combine seafood with creamy toppings.
The layers are baked for a warm finish and garnished to enhance both taste and appearance. Finally, we focus on serving options and ways to store or customize the dish.
Preparing and Seasoning Sushi Rice
We begin by preparing 3 1/2 cups of cooked sushi rice, ideally freshly made or warmed if using leftovers. To season the rice properly, we add 1 tablespoon plus 1 1/2 teaspoons of rice vinegar, 1 tablespoon of sugar, and 1 1/2 teaspoons of kosher salt.
Mix these ingredients into the warm rice until fully absorbed. This seasoning gives the rice a slight tang while helping it hold together when pressed into the baking dish.
Next, spread the rice evenly in a sprayed 2-quart dish and press firmly to form a solid layer. Refrigerate the rice layer for about 30 minutes to chill.
Before baking, drizzle 2 tablespoons of canola oil over the rice to help it toast nicely and bake at 425°F for 10 minutes. Your kitchen will soon smell like a sushi restaurant—minus the intimidating sushi chef.
Mixing Seafood and Creamy Toppings
While the rice chills, we prepare our seafood mix. In a medium bowl, combine 1 1/2 ounces of room temperature cream cheese with 2 tablespoons kewpie mayonnaise, 2 tablespoons sriracha, 1 tablespoon reduced-sodium soy sauce, and 2 teaspoons wasabi.
Mix in about two-thirds of 3 sliced green onions for freshness. Then, fold in 1 pound of seafood.
You can use imitation crab for a budget-friendly option, or real crab, chopped salmon, or tuna for different flavors. This creamy, spicy mixture acts like the filling of a deconstructed California roll but with the convenience of a casserole.
Adjust sriracha as needed for heat. No judgment if you like it spicy enough to make your eyes water.
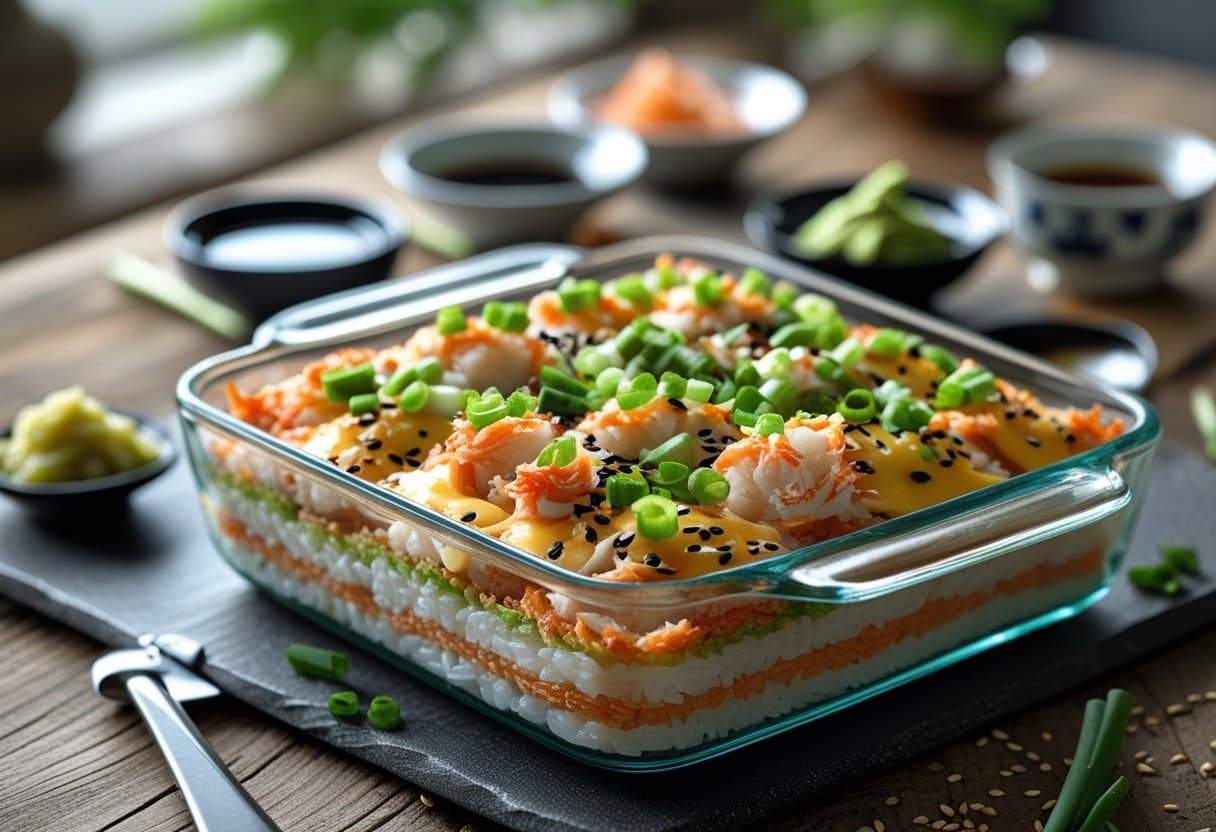
Layering, Baking, and Garnishing
Start by sprinkling 2 tablespoons of furikake seasoning over the baked rice. Spread the seafood mixture evenly on top.
Drizzle extra sriracha mayo or spicy mayo for added flavor and spice. Bake everything again at 425°F for about 15 minutes, until the top is lightly toasted and warmed through.
Once out of the oven, let the sushi bake cool for 10 minutes. Add your toppings: sliced avocado, finely chopped cucumber, remaining green onions, toasted sesame seeds, and more furikake if desired.
These add texture and freshness to the rich casserole. Grab your nori sheets and dig in—no chopstick skills required!
Serving, Storing, and Customizing
We serve sushi bake warm with small sheets of nori to scoop and wrap the layers. This mimics traditional sushi rolls.
It also works well in lettuce wraps for a fresh twist. Leftovers keep well in an airtight container in the fridge for up to 3 days.
Just remember to remove avocado before storing to prevent browning. Nobody likes sad, brown avocado.
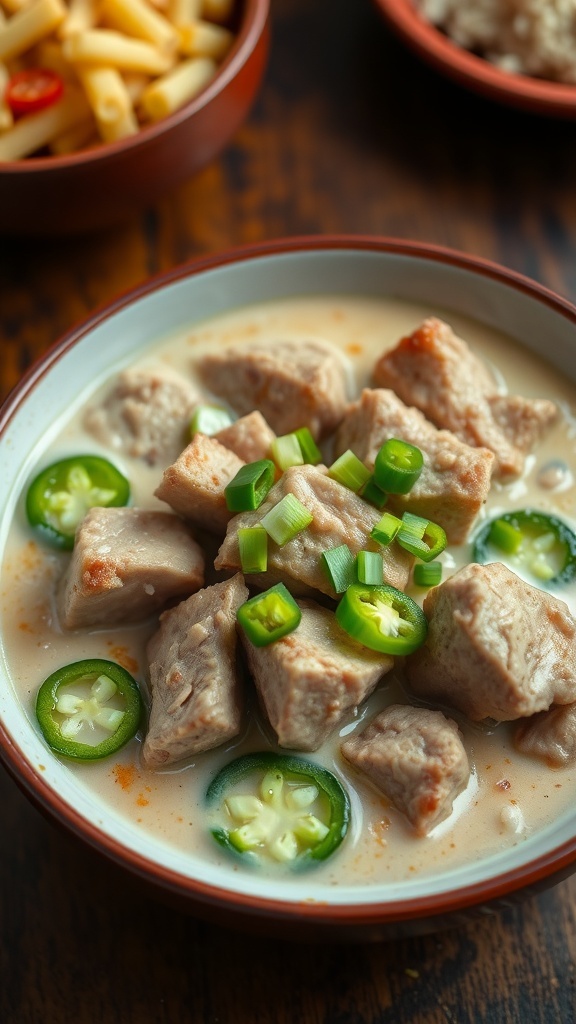
To customize, try swapping seafood types. Adding jalapeño slices brings the heat, or you can top with tempura flakes for a satisfying crunch.
For a full guide, check out this easy sushi bake recipe.