Making bagels at home might sound tricky, but it’s actually pretty simple and really satisfying. You only need a few basic ingredients like flour, yeast, water, sugar, and salt to make chewy, delicious bagels that taste great fresh out of your oven.
I love how homemade bagels have that perfect mix of crispy outside and soft inside that you usually only get from a bakery.
What makes homemade bagels special is the boiling step before baking, which helps create that shiny, dense crust. I’ll walk you through every step so you can skip the store-bought stuff and enjoy fresh bagels anytime you want.
Whether you like them plain or topped with seeds, you’re going to find this recipe easy to follow and fun to make. If you’ve ever wanted to try making bagels from scratch but thought it was too hard, this is a good place to start.
The process is pretty straightforward, and once you taste your own homemade bagel, you’ll see why it’s worth giving a try.
Essential Ingredients and Supplies
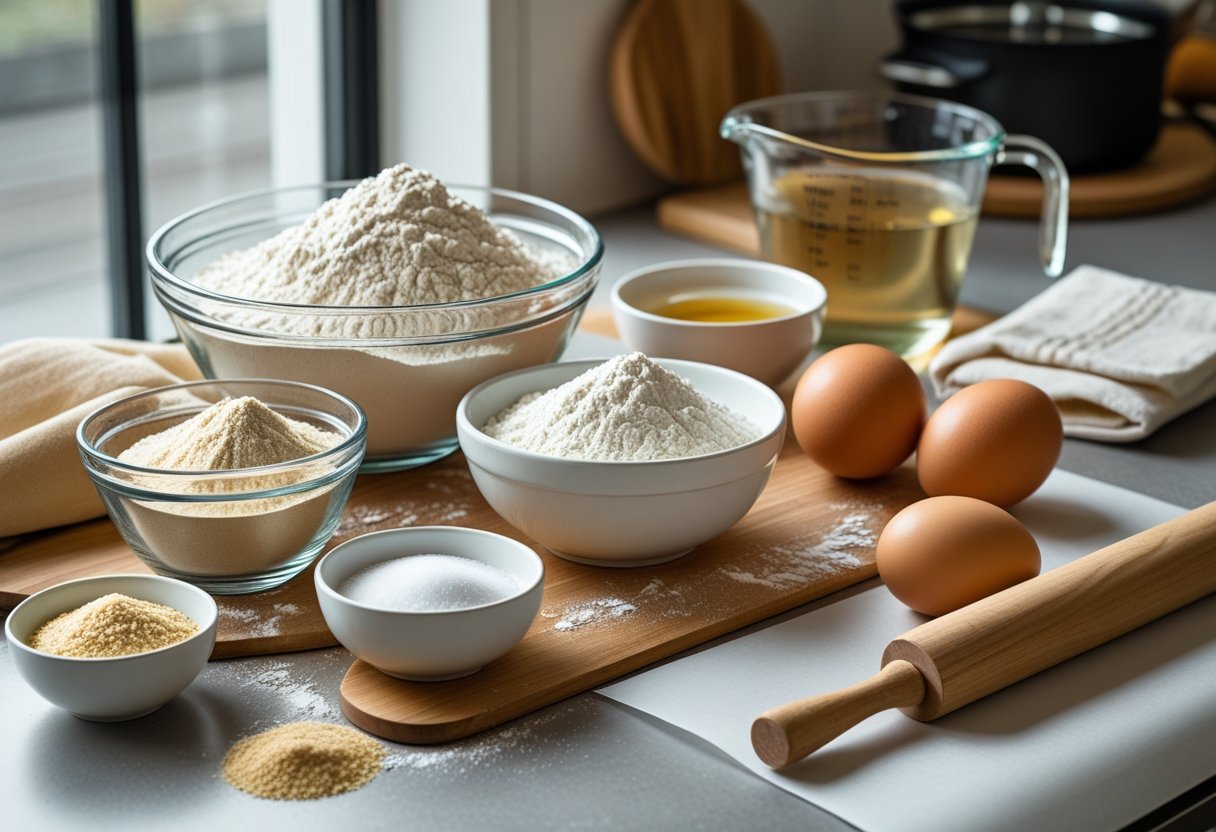
Making bagels at home means paying close attention to a few key ingredients and tools. Getting these right helps create that perfect chewy texture and golden crust I love.
It also means knowing what toppings to use if you want to add a tasty finish.
Overview of Dough Ingredients
The dough’s main players are bread flour, active dry yeast, water, and a little sweetener like honey or sugar. Bread flour is important because it has more protein than all-purpose flour, which gives bagels their chewy bite.
I always use active dry yeast to make the dough rise well. It needs warm water, around 105°F to 110°F, to get it working.
Adding a bit of honey or sugar feeds the yeast and helps the crust brown nicely. Kosher salt is also key—it controls yeast growth and adds flavor.
I measure it carefully because too much salt can stop the dough from rising properly.
Choosing the Right Flour
Bread flour is my go-to for bagels because of its high gluten content. Gluten is what makes the dough stretchy and chewy, giving the bagels their classic texture.
I avoid using all-purpose flour since it won’t give the same firmness or bite. If you want to experiment, you can mix in a little whole wheat flour.
But too much whole wheat can make the bagels dense instead of light and chewy. Using good-quality bread flour makes shaping the dough easier and helps it hold its shape when boiling and baking.
Bagel Toppings and Seasonings
Toppings take bagels from plain to exciting. I like to use sesame seeds, poppy seeds, or the famous everything bagel seasoning for extra flavor and crunch.
Before baking, I brush the bagels with an egg wash. This helps toppings stick and gives the crust a beautiful shine.
Kosher salt sprinkled on top adds a nice savory kick. You can also try dried onion flakes or garlic for flavored bagels.
Whatever toppings you pick, they should be fresh and added right after boiling the bagels but before baking.
If you want to try the full recipe and see the process, check out this traditional homemade bagels recipe.
Step-By-Step Homemade Bagel Recipe
Making homemade bagels takes some time, but each step is clear and fun. You start by mixing and kneading the dough until it’s smooth and elastic.
Then you shape the bagels carefully and let them rest. Boiling the bagels before baking gives them their classic chewy texture and shiny crust.
Finally, you finish them with a simple egg wash and add your favorite toppings.
Mixing and Kneading the Dough
I begin by mixing my ingredients, usually bread flour, water, yeast, salt, and a little sugar. These help create the perfect chewy texture.
After combining them, I knead the dough for about 10-12 minutes. Kneading by hand lets me feel when the dough becomes smooth and stretchy.
If you use a mixer, 8-9 minutes works well. Once kneaded, I place the dough in a lightly greased bowl and cover it.
It needs about 1 to 1.5 hours to rise until it’s puffy but not doubled. This rest time helps develop flavor and gives the dough strength to hold its shape.
Shaping and Resting Bagels
After the dough is ready, I divide it into equal pieces, usually eight for large bagels. Each piece gets rolled into a tight ball.
Then, I let the dough balls rest for about 30 minutes under a cloth. This softens the dough, making shaping easier.
To shape each bagel, I poke a hole in the center with my finger, then gently stretch the hole to about 1.5 inches across. This gives the bagel its classic ring shape.
I lay the shaped bagels on a baking sheet lined with parchment paper. They rise again for about 45 minutes before boiling.
Boiling and Baking for Perfect Texture
Boiling is the key to chewy bagels. I bring water to a simmer in a wide pot with a steamer rack or just a normal pot.
I gently lower a few bagels at a time into the water for 60-90 seconds each side. Boiling sets the crust and keeps the inside dense.
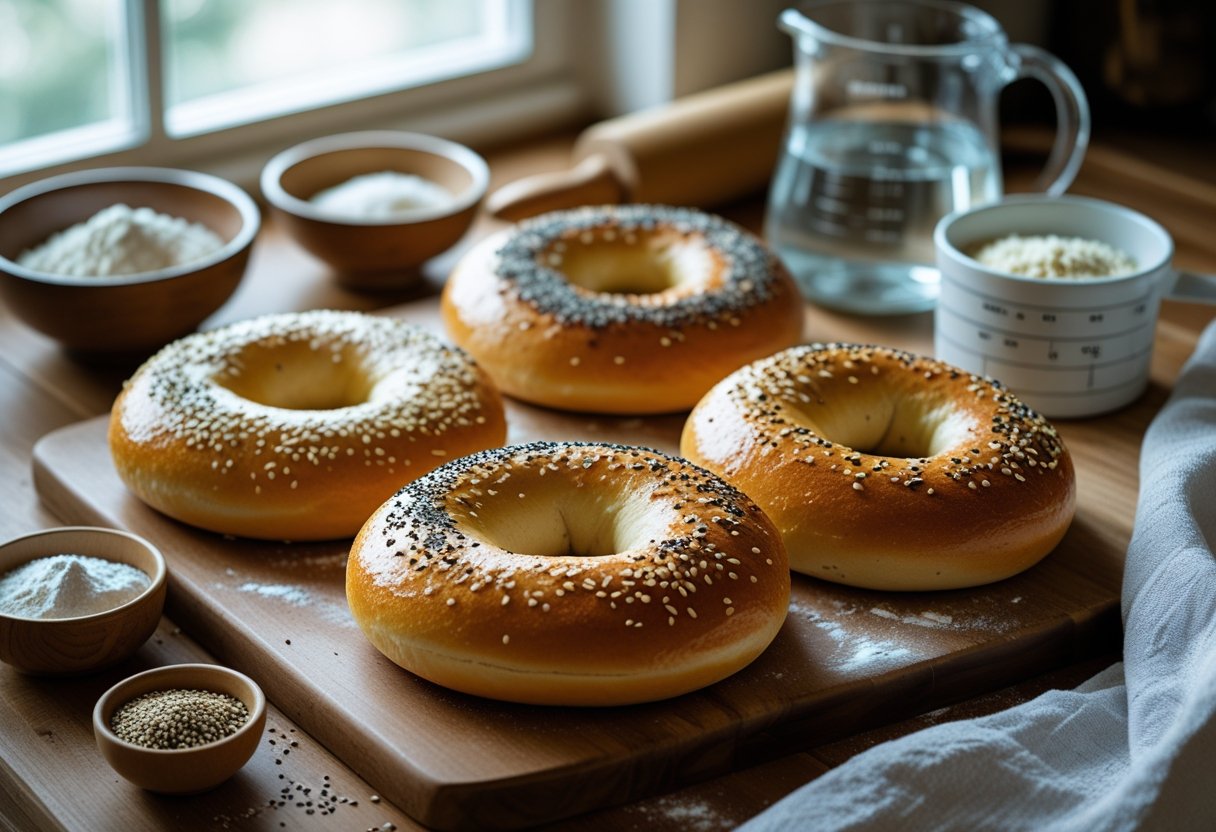
After boiling, I place the bagels back on the parchment-lined baking sheet. A quick brush of egg wash helps the bagels turn golden and shiny in the oven.
Baking at 400°F for 20-25 minutes gives a deep golden color and a crisp exterior.
Finishing Touches and Serving Ideas
Once baked, I cool the bagels on a wire rack.
Adding toppings before baking is easy—everything, sesame, poppy seeds, or coarse salt stick well after brushing with egg wash.
I like to slice mine and spread plenty of cream cheese for breakfast.
You can also freeze extras for up to two months.
Just thaw and toast them for a warm, fresh taste anytime.