You cook Colorado campfire Dutch oven pot roast to get a hearty, one-pot meal that works in cold mountain air and long outdoor days. This dish uses simple steps, steady heat, and time to turn tough beef into a filling dinner you can rely on.
It fits camp cooking because it needs little prep and holds heat well over coals.
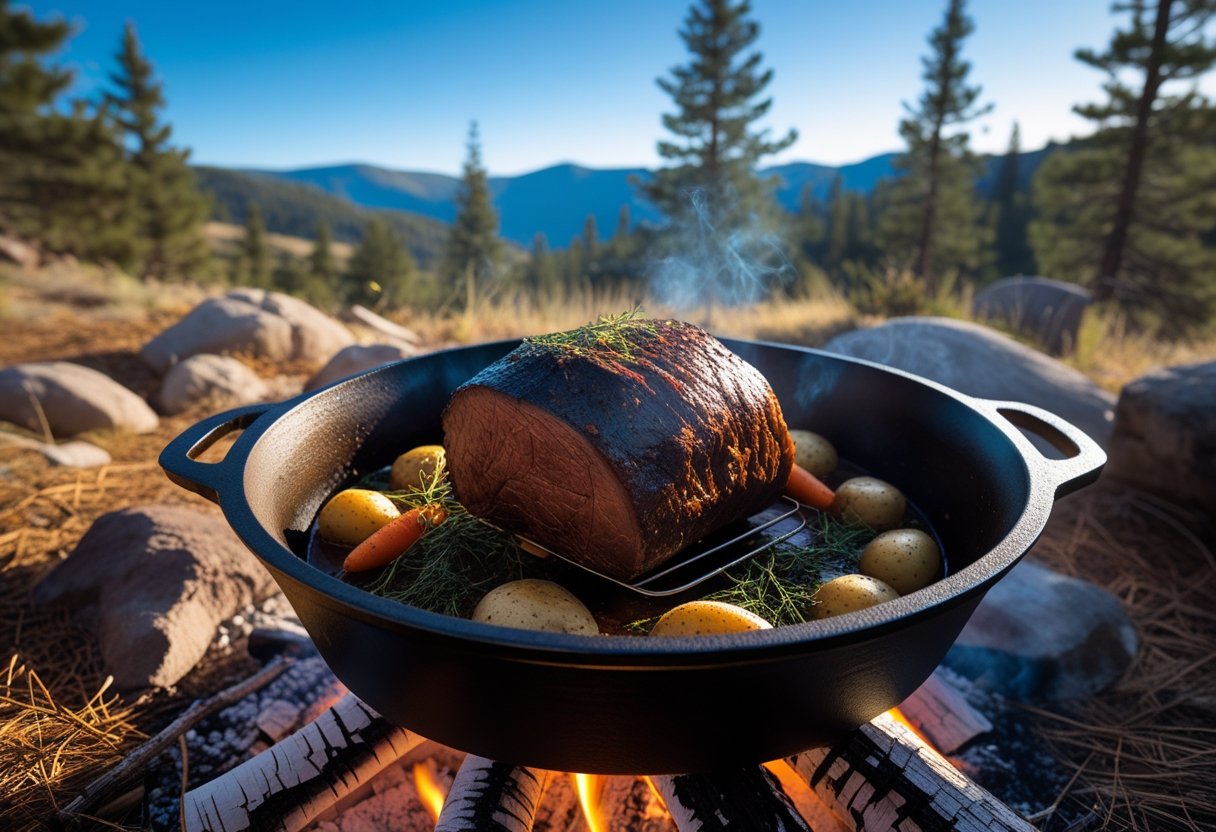
You get tender beef, rich broth, and soft vegetables from one Dutch oven cooked low and slow over a campfire. We use basic tools and easy methods that match real mountain conditions, not a home kitchen.
You can cook this meal at a campsite, at a trailhead, or in a snowy clearing. We focus on clear steps, common ingredients, and practical tips that help you avoid mistakes at the fire.
You learn how to manage coals, build flavor, and serve a meal that feels right after a long day outside.
Key Takeaways
- You learn what makes this pot roast work in mountain camp settings.
- You see which tools and foods matter most for campfire cooking.
- You follow clear steps that lead to reliable, tender results.
Essential Ingredients and Equipment for Colorado Campfire Dutch Oven Pot Roast
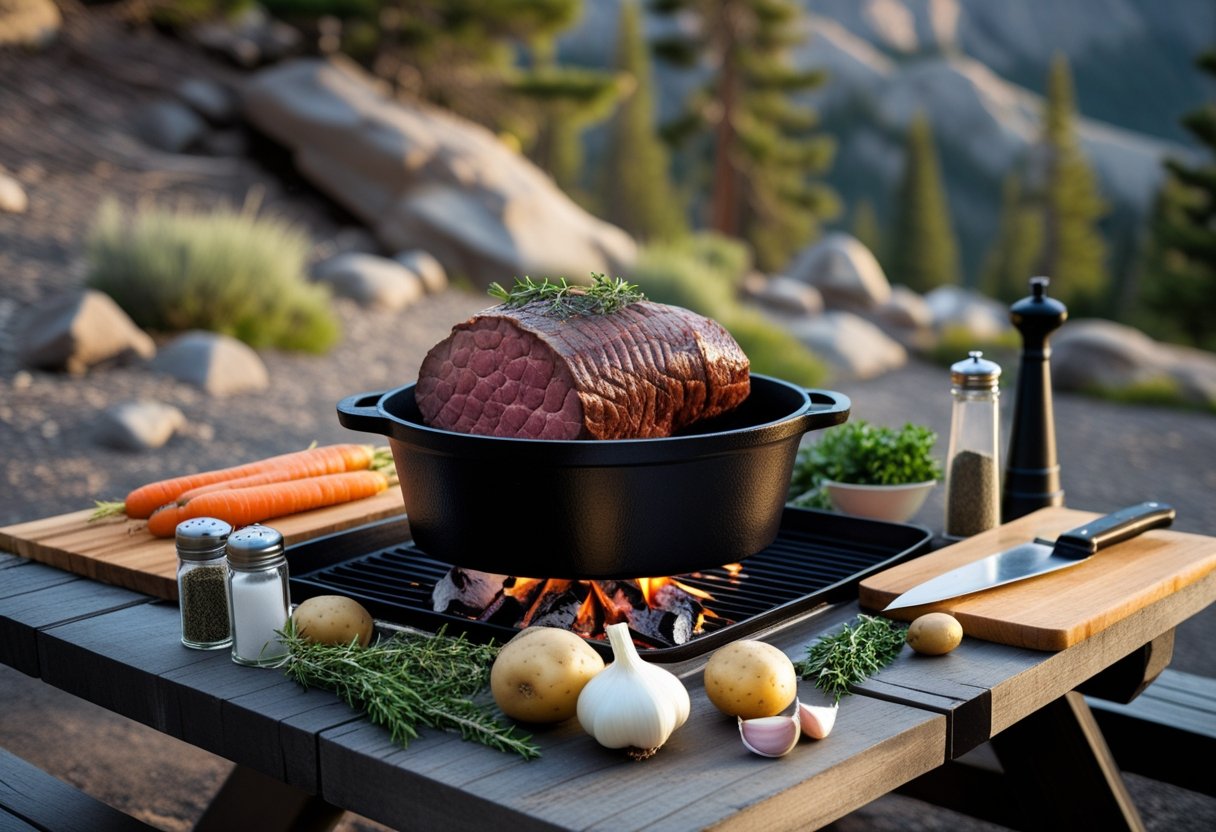
We rely on simple, sturdy ingredients and proven gear to cook a steady pot roast over a Colorado campfire. The right meat, aromatics, braising liquid, and tools work together to deliver tender beef and well-cooked vegetables.
Choosing the Right Chuck Roast
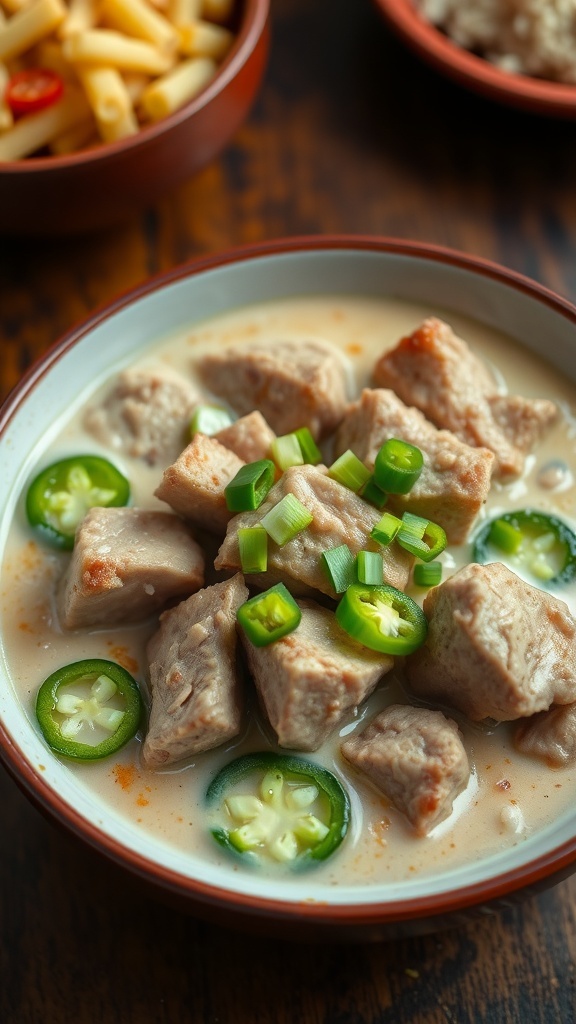
We choose a chuck roast because it handles long, slow heat without drying out. Look for a cut between 3 and 4 pounds so it fits a standard Dutch oven and feeds a small group.
Marbling matters. Thin white streaks of fat melt during cooking and keep the meat moist.
Avoid lean cuts, which turn tough over coals. We season the roast with salt and black pepper just before cooking.
This timing helps the meat brown well and keeps moisture inside. We do not trim all the fat; we leave some to protect the meat during the long braise.
Selecting and Preparing Aromatics
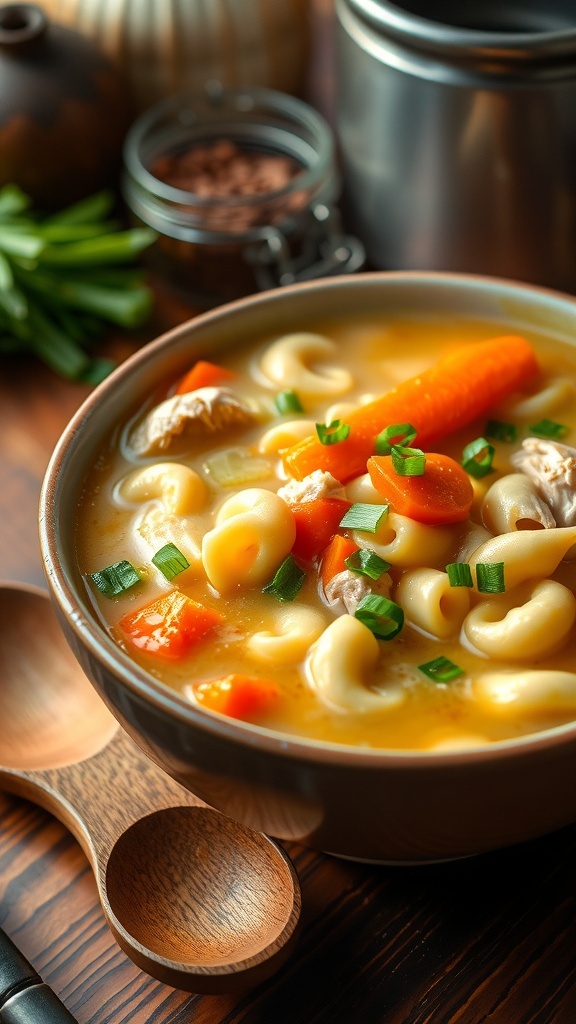
We use onions, carrots, and potatoes as the base aromatics. These vegetables cook at a similar pace and hold their shape over several hours.
We cut onions into large wedges so they soften without disappearing. Carrots get peeled and cut into thick chunks.
Potatoes stay whole if small, or halved if large. Fresh herbs add clean flavor.
We prefer thyme and rosemary tied together with kitchen string. This bundle flavors the dish and lifts out easily before serving.
Garlic is optional. If we add it, we crush whole cloves and keep them large to avoid burning.
Crafting the Perfect Braising Liquid
The braising liquid should cover about one-third of the roast, not drown it. We use a mix of beef stock and red wine for depth and balance.
Wine adds mild acidity, which helps tenderize the meat. Stock adds body and salt.
Water alone lacks flavor, so we avoid it when possible. We deglaze the pot after browning the roast to capture the browned bits.
These add real flavor. Many classic campfire pot roast ingredients follow this same balance of stock, wine, and herbs, as shown in this campfire pot roast recipe.
Must-Have Dutch Oven and Tools
We rely on solid gear that handles heat and rough ground.
Essential equipment
- Cast iron Dutch oven (10–12 quart) with a tight lid
- Long-handled tongs for moving coals
- Heat-resistant gloves for safety
- Lid lifter to avoid burns
- Charcoal or hardwood coals for steady heat
A flat-bottom Dutch oven works best on campfire grates or coal beds. We check the lid seal to keep heat even.
Reliable tools make campfire cooking calmer and safer, especially in cold mountain air.
Step-by-Step Guide to Authentic Mountain Pot Roast
We rely on solid heat control, simple ingredients, and time. Each step builds flavor, from browning the meat to managing the coals and serving straight from the pot.
Searing Techniques for Maximum Flavor
We start with a chuck roast because it handles long heat well. Pat it dry and season with salt and pepper.
Heat the Dutch oven until oil shimmers, not smokes. Sear all sides until a deep brown crust forms.
This step adds flavor and color that slow cooking alone cannot create. Turn the roast with tongs to avoid tearing the meat.
Searing basics we follow:
| Step | Detail |
|---|---|
| Oil | Neutral oil with high heat |
| Heat | Medium-high over coals |
| Time | 3–4 minutes per side |
This method matches classic campfire practice found in a campfire pot roast recipe cooked in a Dutch oven.
Building Rich Layers with Vegetables and Herbs
After searing, we cook onions in the same pot. They soften and pull flavor from the browned bits.
This step matters because it builds the base of the dish. We add carrots and potatoes next.
Cut them large so they hold shape during long cooking. Fresh thyme and rosemary add a clean, earthy taste without overpowering the meat.
Pour in wine or stock to form the braising liquid. Scrape the bottom to lift the browned bits.
Keep the liquid halfway up the roast, not covering it. This layered method follows the approach used in a Dutch oven pot roast cooked low and slow.
Slow Cooking Methods for Tender Results
We return the roast to the pot and cover it. Set coals below and on the lid to create even heat.
Avoid direct flames, which dry the meat. Cook for about three hours.
Check every 45 minutes to adjust coals and liquid. Add small amounts of stock if the pot looks dry.
Heat control we use:
- Bottom coals: steady warmth
- Top coals: gentle oven effect
- Lid closed: moisture stays in
The chuck roast softens as collagen breaks down. The braising liquid thickens and carries flavor into the meat.
### Serving and Rustic Presentation Tips
We remove the roast and let it rest for 10 minutes. This keeps the meat juicy when sliced or pulled apart.
Serve the roast family-style, straight from the Dutch oven. Spoon vegetables around the meat and ladle the braising liquid over the top.
For a camp table, we keep it simple. Just set the cast iron pot on a wood board.
Grab a large spoon for serving. Don’t forget some crusty bread for soaking up those glorious juices.
This style reflects the comfort focus of a classic Dutch oven pot roast with gravy.