If you’re looking for a simple way to add rich, sweet flavor to your meals, an Idaho onion jam recipe is a great choice. Made with locally grown Idaho onions, this jam offers a natural sweetness balanced with a savory touch.
Idaho onion jam is easy to make by slowly caramelizing onions with sugar and vinegar until they become thick and jammy. It’s perfect for spreading on cheese, sandwiches, or serving alongside meats.
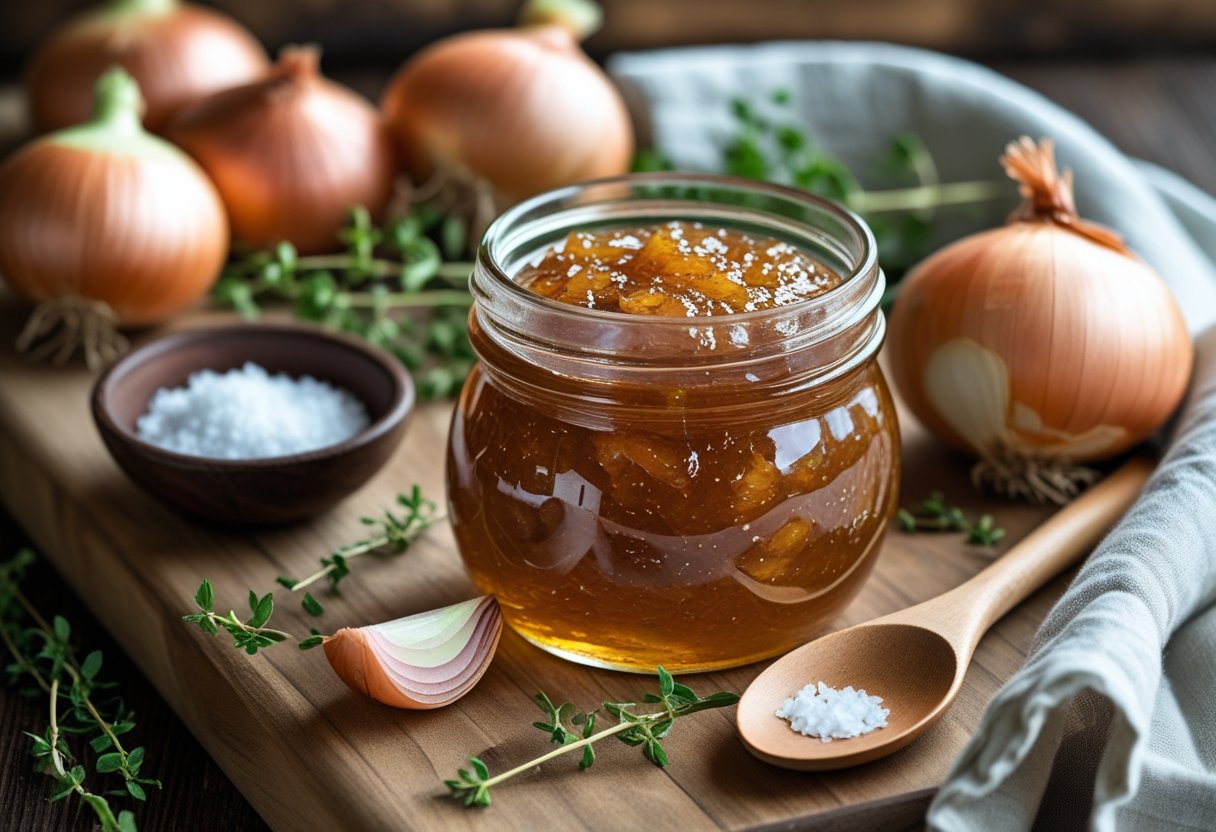
We appreciate the quality of Idaho onions, known for their sweetness and long shelf life. Using yellow or red Idaho onions creates a deep, sweet taste that stands out in any dish.
This jam brings out the best in simple ingredients with minimum effort. In this post, we’ll guide you through making Idaho onion jam and share tips for nailing the perfect texture and flavor.
Whether you use it as a spread or a topping, our recipe helps you enjoy the unique taste of Idaho’s produce in a versatile, delicious way. For the full play-by-play, check out the Idaho Onion Jam recipe.
How to Make Idaho Onion Jam
Making Idaho Onion Jam involves careful selection of ingredients and a little patience. The key is balancing sweetness, acidity, and that deep flavor that comes from slow caramelization.
We focus on simple ingredients and techniques to get a rich, spreadable jam. No culinary degree required, just a little time and a willingness to smell like onions for an hour.
Essential Ingredients and Substitutions
We start with 4 cups of chopped Idaho onions, which can be yellow or red. Red onions create a sweeter version, while yellow onions offer a more classic flavor.
Brown sugar is important for caramelization and sweetness. We use ¼ cup of canola or olive oil to cook the onions gently.
Salt enhances the natural taste. Vinegar adds acidity, which balances the sweetness and preserves the jam.
Traditional recipes call for red wine vinegar, but cider vinegar or even lemon juice can work well. Adding minced garlic is optional but gives extra depth.
Butter is sometimes added near the end for richness. Feeling fancy? Substitute Ruby Port wine for vinegar for a more complex flavor, but basic vinegars keep it simple and tasty.
| Ingredient | Amount | Substitutions |
|---|---|---|
| Idaho onions | 4 cups | Yellow or red onions |
| Brown sugar | ¾ cup | White sugar (less sweet) |
| Canola or olive oil | ¼ cup | Butter (adds richness) |
| Vinegar | ½ cup | Cider vinegar, lemon juice, Ruby Port wine |
| Salt | Dash | Sea salt or kosher salt |
| Minced garlic | Optional, small amount | Garlic powder |
Step-By-Step Cooking Instructions
We heat oil in a skillet over medium heat, then add brown sugar and stir constantly until it melts and turns a light caramel color. This takes about 10 minutes—keep an eye on it, unless you enjoy cleaning burnt sugar off pans.
Next, we add the chopped onions, salt, and black pepper. The onions begin to soften and caramelize.
We keep stirring over medium-low heat for 15 to 20 minutes until they become golden and tender. After that, we pour in the vinegar or chosen substitute and let the mixture simmer gently, stirring occasionally, for about 30 minutes.
This reduces the liquid and thickens the jam to a spreadable consistency. Finally, we let the jam cool before serving.
It can be stored in a jar in the fridge for weeks. Or until someone discovers it and eats it all.
Tips for Achieving the Perfect Consistency
Patience is key. We cook the onions low and slow to develop sweetness without burning.
Stirring often prevents sticking and burning. If the jam is too thin, keep simmering uncovered.
If it gets too thick or dry, we add a little water or more vinegar to loosen it. Watch the color: a rich brown but not too dark is ideal.
The jam should be thick enough to hold its shape on a spoon but soft enough to spread easily. Keeping the heat moderate helps caramelize sugars slowly.
Using fresh Idaho onions with good sugar content also improves flavor and texture. Trust us, your taste buds will thank you.
Serving, Storing, and Preserving Idaho Onion Jam
Idaho onion jam adds rich, sweet flavors to many dishes and deserves proper care to keep it fresh. Let’s talk about how to enjoy it best, how to store it safely, and how to keep it around for those “I need jam now” moments.
Serving Suggestions and Pairings
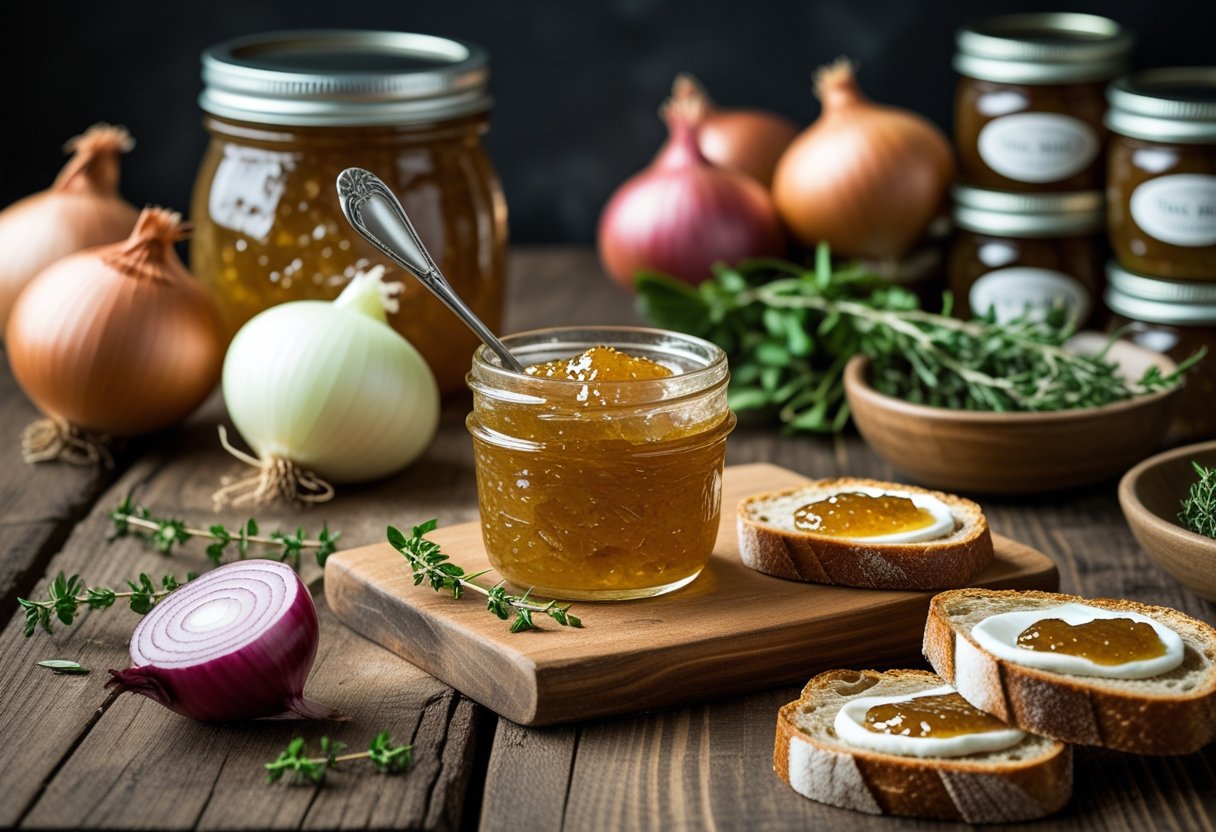
Idaho onion jam pairs well with creamy and savory foods. Try spreading it over cream cheese or butter to jazz up crackers for a simple appetizer.
It also works as a warm topping for pork roasts, adding a sweet, caramelized layer of flavor. You can use it on sandwiches and burgers for a sweet, tangy twist.
It complements sharp cheeses and charcuterie plates. Because the jam is rich, pairing it with mild or salty flavors balances the taste.
Proper Storage and Shelf Life
Once cooked, Idaho onion jam should cool before storing. We keep it in a clean glass jar or plastic container in the refrigerator.
The jam stays fresh for up to two weeks when refrigerated properly. For longer storage, we can freeze it in ice cube trays.
Frozen jam cubes make portioning easy and can be thawed as needed. Avoid leaving the jam at room temperature for too long to prevent spoilage.
Water Bath Canning and Packing in Half-Pint Jars
Water bath canning is a trusty way to preserve onion jam for months on end. We fill up sterilized half-pint jars with hot jam, making sure to leave about ¼ inch of headspace—no one likes an overstuffed jar.
After sealing, the jars take a dip in boiling water for the recommended time. This step zaps any pesky bacteria and seals everything up tight.
Once cooled, check that the lids are firmly sealed. Store your jars in a cool, dark place where they can patiently wait for their big debut.
Proper canning means you can enjoy Idaho onion jam long after onion season is just a memory. If you want the nitty-gritty details, consult a trusted canning guide for water bath canning techniques.